
Blog
How to Make Your Own Delectable Sweet and Salted Cashews?
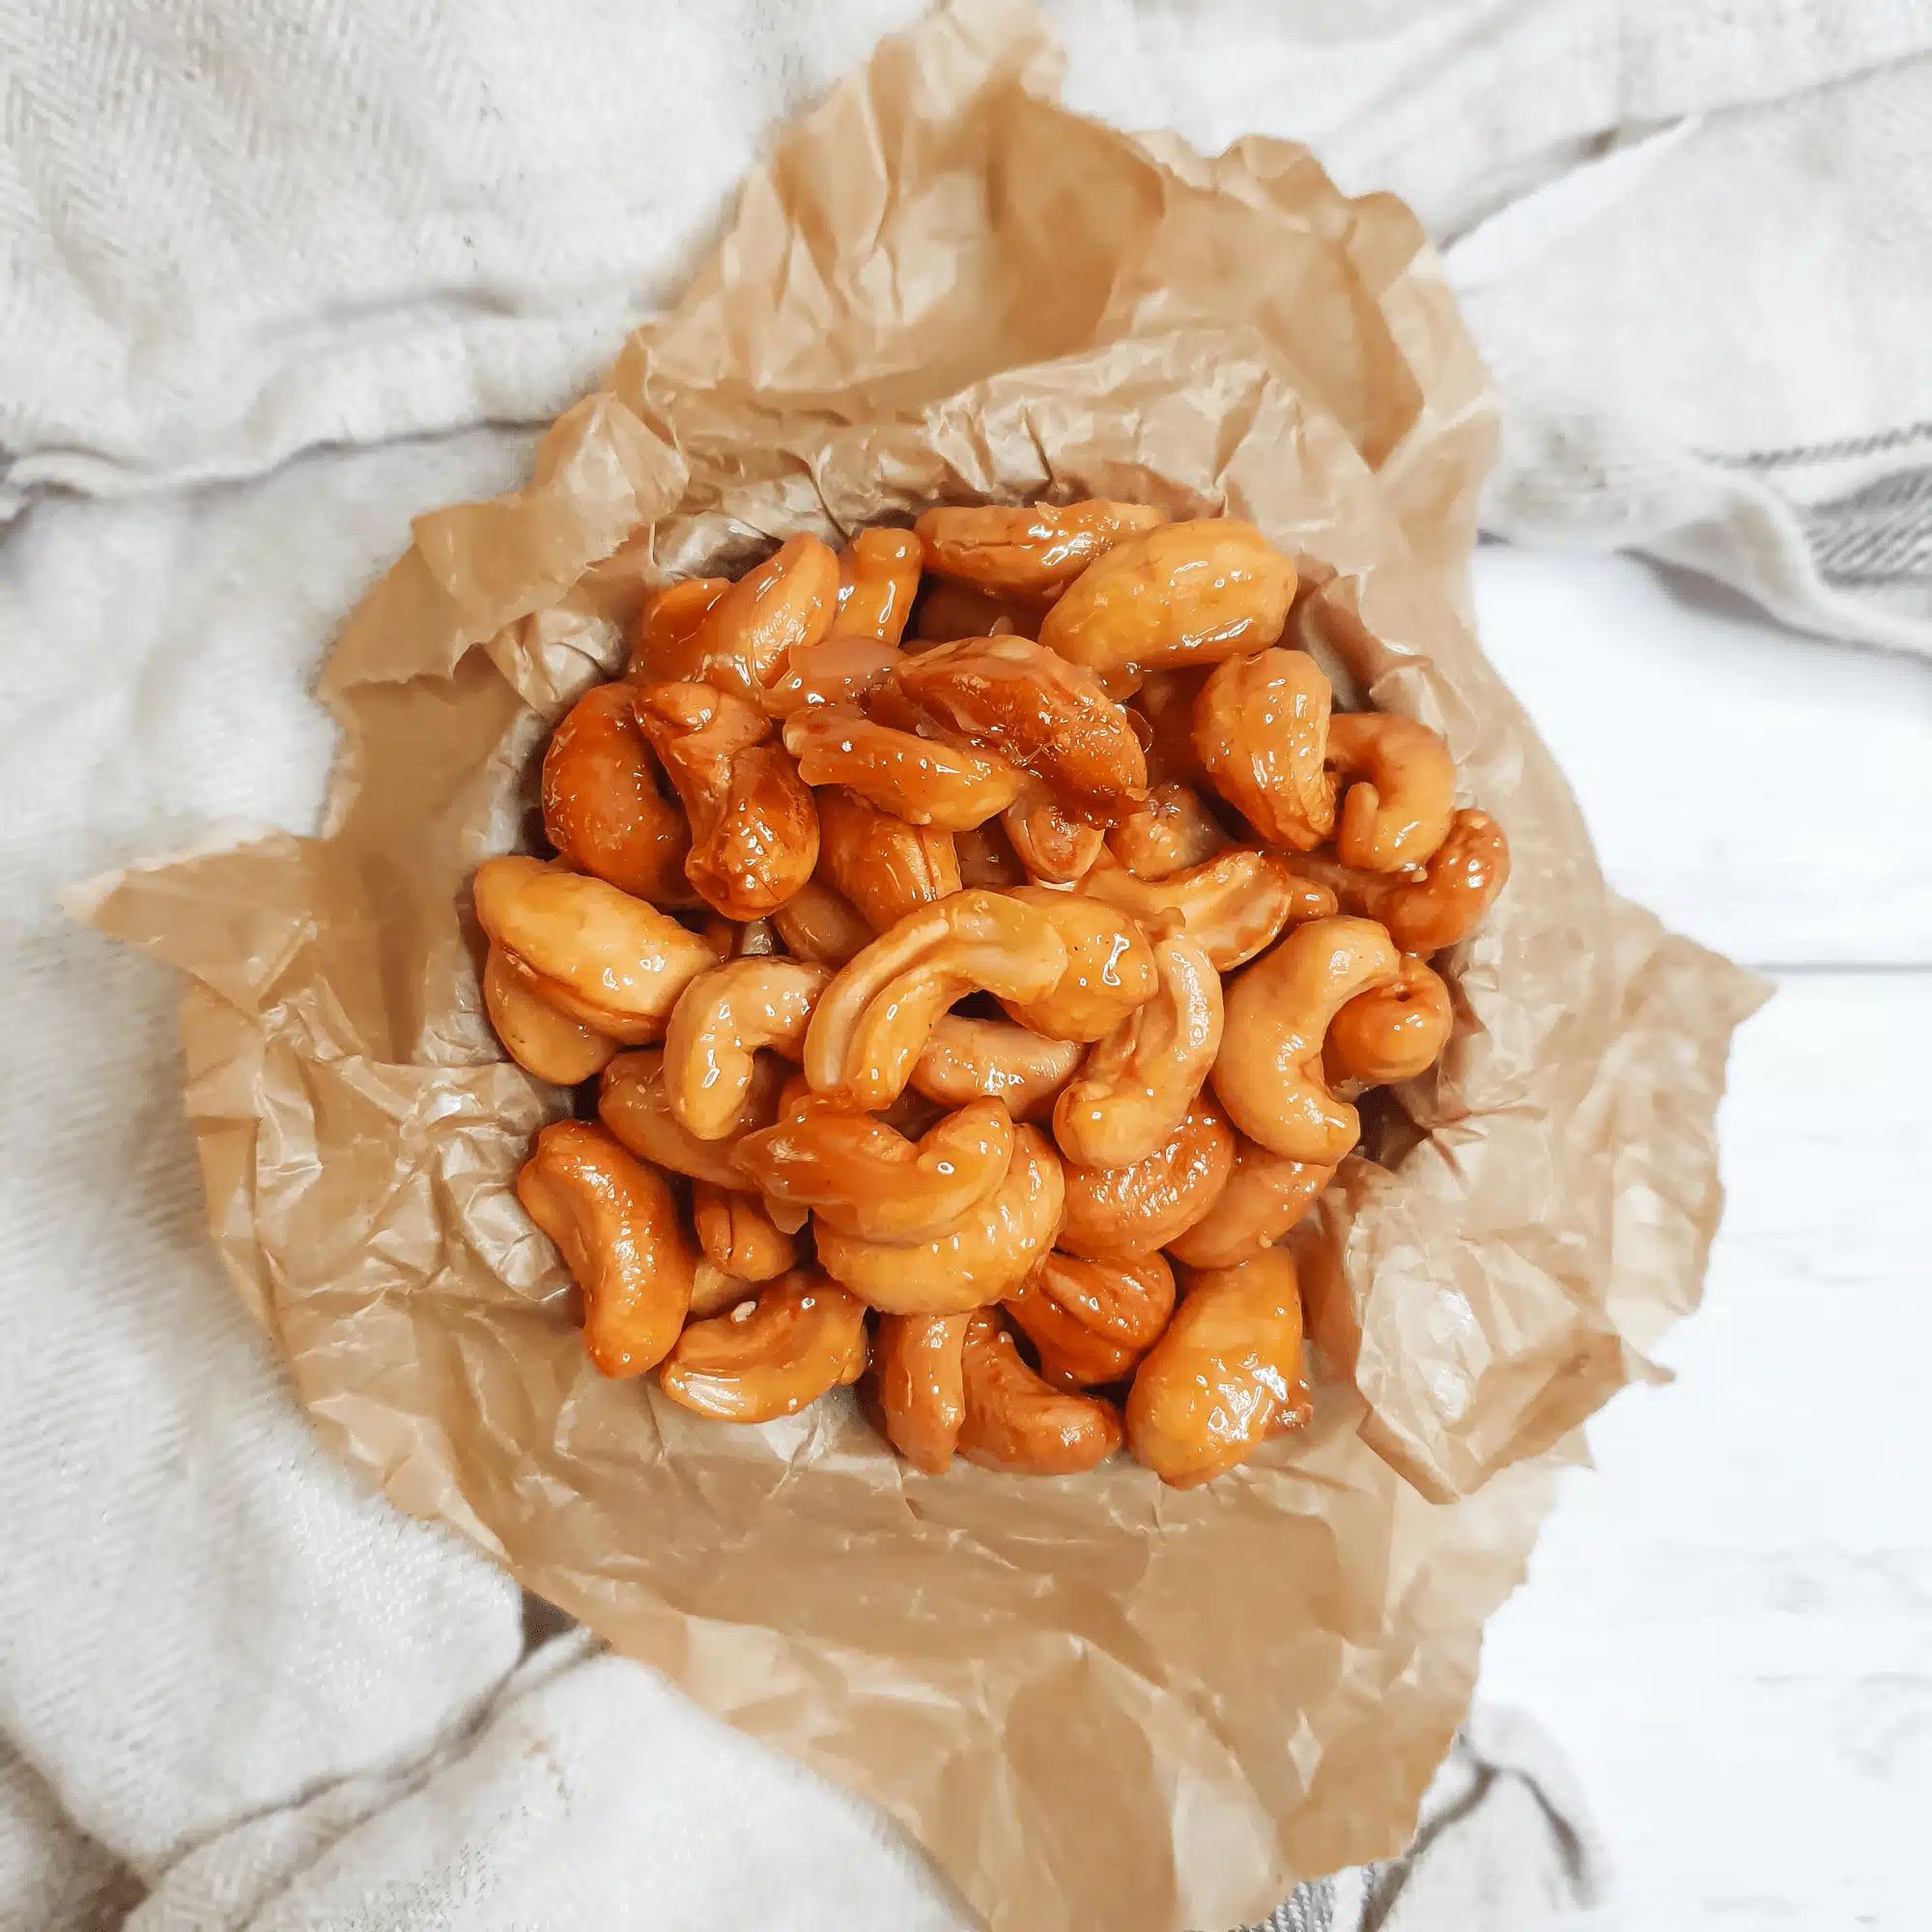
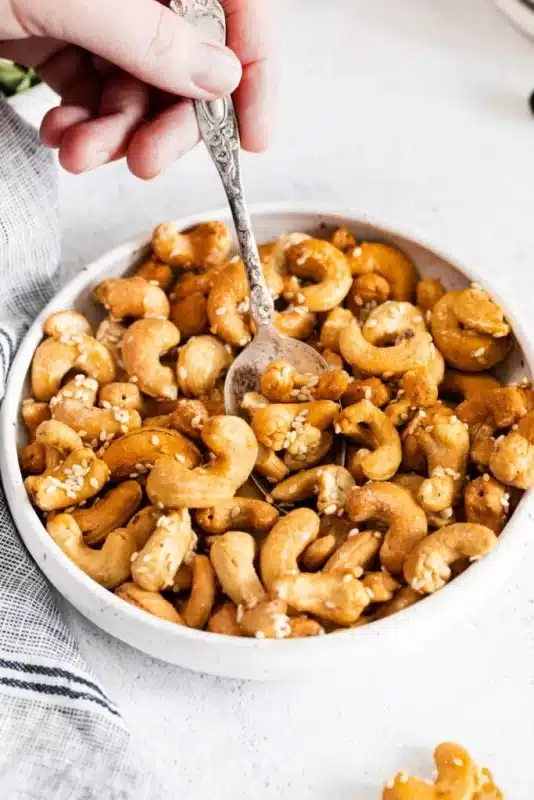
Sweet and salted cashews are a tantalizing snack that perfectly balances the richness of roasted cashews with the sweet allure of caramelized sugar and a hint of salt. Making these delectable treats at home allows you to customize the flavors, control the ingredients, and indulge in a freshly prepared snack that’s both delicious and satisfying. In this article, we’ll guide you through the steps to create your own sweet and salted cashews.
Ingredients You’ll Need:
- 2 cups of whole cashews (raw or roasted)
- 1/2 cup of granulated sugar
- 2 tablespoons of unsalted butter
- 1/2 teaspoon of salt (adjust to taste)
- 1/4 teaspoon of baking soda
- 1/2 teaspoon of vanilla extract (optional)
Equipment:
- Medium-sized, heavy-bottomed saucepan
- Wooden spoon or silicone spatula
- Baking sheet
- Parchment paper or silicone baking mat
- Wire rack (optional)
Instructions:
1. Prepare Your Cashews
Start by measuring out 2 cups of cashews. You can use either raw or roasted cashews, depending on your preference. If you opt for raw cashews, consider roasting them in a preheated oven at 350°F (175°C) for about 10-12 minutes until they become lightly golden. Roasting enhances the nutty flavor.
2. Prepare Your Baking Sheet
Line a baking sheet with parchment paper or a silicone baking mat. This will prevent the sweet and salted cashews from sticking to the surface.
3. Heat the Sugar and Butter
In a medium-sized, heavy-bottomed saucepan, melt 2 tablespoons of unsalted butter over medium heat. Once the butter has melted, add 1/2 cup of granulated sugar. Stir continuously with a wooden spoon or silicone spatula until the sugar starts to melt and turns into a smooth, amber-colored caramel. Be patient; this process may take 5-7 minutes.
4. Add Salt and Baking Soda
Once the sugar has caramelized, carefully stir in 1/2 teaspoon of salt and 1/4 teaspoon of baking soda. The mixture will bubble up when you add the baking soda, so be cautious.
5. Add the Cashews
Quickly add the roasted cashews to the caramelized sugar mixture. Stir vigorously to coat the cashews evenly with the caramel. Continue to cook and stir for an additional 2-3 minutes to ensure the cashews are well-coated.
6. Spread on Baking Sheet
Immediately transfer the sweet and salted cashews onto the prepared baking sheet. Use a wooden spoon or spatula to spread them out in a single layer. Be careful, as the caramel will be hot.
7. Cool and Break Apart
Allow the cashews to cool completely on the baking sheet. Once cooled, they will harden, forming clusters of sweet and salty goodness. If desired, break the clusters into smaller pieces or individual cashews.
8. Optional: Drizzle with Vanilla
For an extra layer of flavor, you can drizzle 1/2 teaspoon of vanilla extract over the sweet and salted cashews once they’re on the baking sheet. This adds a subtle vanilla aroma and taste.
9. Enjoy!
Your homemade sweet and salted cashews are ready to enjoy. Store them in an airtight container to maintain their freshness. They make a wonderful snack for any occasion, whether it’s a movie night, a party, or simply a well-deserved treat for yourself.
10. Variations and Additions
While the classic sweet and salted cashews are wonderful on their own, you can experiment with different variations to suit your palate:
- Spice It Up: Add a pinch of cayenne pepper or chili powder for a sweet and spicy kick.
- Chocolate Drizzle: After the cashews have cooled, drizzle them with melted chocolate for an indulgent twist.
- Cinnamon Spice: Dust the cashews with ground cinnamon while they’re still warm for a warm and comforting flavor.
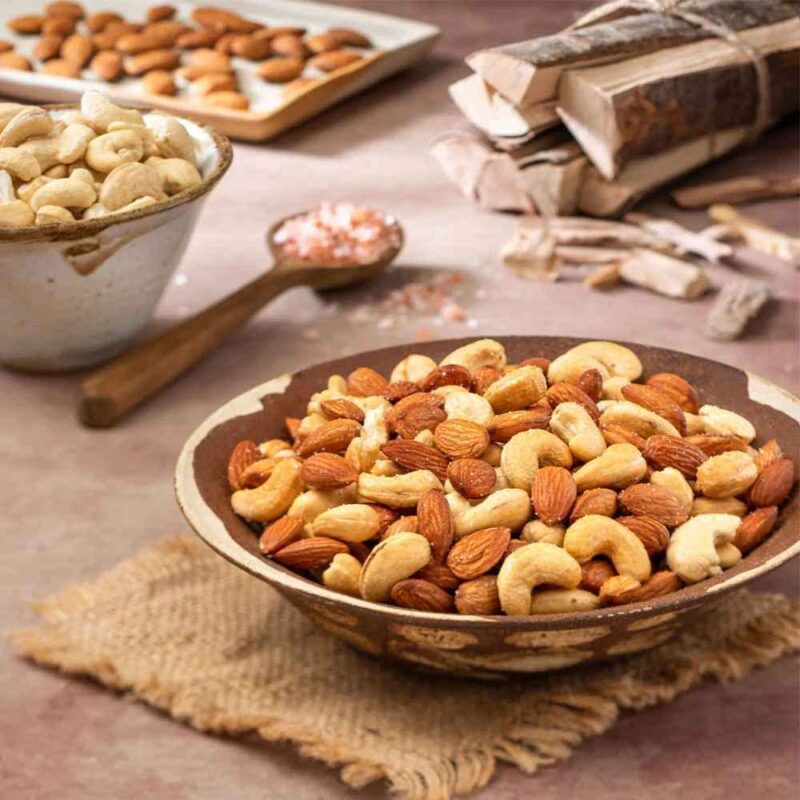
- Nut Medley: Mix in other nuts like almonds or pecans to create a sweet and salty nut medley.
11. Gifting and Sharing
Homemade sweet and salted cashews make for thoughtful and delicious gifts. Package them in decorative containers or jars tied with ribbons to share the joy with friends and loved ones.
12. Culinary Creativity
Once you’ve mastered the art of making sweet and salted cashews, you can use the same caramelization technique with different nuts and flavorings to create an array of gourmet snacks and confections.
13. Health Considerations
While these sweet and salted cashews are undeniably delicious, they are calorie-dense due to the sugar and butter content. Enjoy them in moderation as a special treat and balance them with a healthy diet.
Creating your own sweet and salted cashews is a delightful culinary endeavor that not only results in a delicious snack but also offers room for creativity and customization. Whether you prefer a classic sweet and salty combination or want to experiment with different flavors and additions, making these treats at home allows you to tailor them to your taste. So, roll up your sleeves, gather your ingredients, and embark on the journey of crafting these delectable sweet and salted cashews that will undoubtedly become a favorite in your snacking repertoire.
Making your own sweet and salted cashews at home is a delightful culinary adventure that allows you to savor the perfect balance of flavors. With just a few simple ingredients and a little patience, you can create a snack that’s not only delectable but also customizable to suit your taste preferences. So, don your apron, gather your ingredients, and embark on the journey of crafting these irresistible sweet and salted cashews to elevate your snacking experience.
Outline of the Article:
I. Introduction
- Introduce the topic of making sweet and salted cashews at home
- Highlight the popularity of this delightful snack
II. Why Make Your Own Sweet and Salted Cashews
- Discuss the benefits of homemade snacks
- Emphasize customization and freshness
III. Gathering the Ingredients and Tools
- List the ingredients needed for sweet and salted cashews
- Mention the kitchen tools required for the preparation
IV. Step-by-Step Guide to Making Sweet and Salted Cashews
- Outline the process from raw cashews to the finished snack
- Include details on roasting, seasoning, and cooling
V. Tips and Tricks for the Perfect Sweet and Salted Cashews
- Offer expert tips to enhance flavor and texture
- Provide troubleshooting suggestions for common issues
VI. Creative Variations and Flavor Combinations
- Explore different flavor combinations like cinnamon sugar or spicy chili
- Encourage readers to experiment with their favorite seasonings
VII. Storing Your Homemade Sweet and Salted Cashews
- Provide guidelines for proper storage to maintain freshness
- Discuss the shelf life of homemade sweet and salted cashews
VIII. Enjoying Your Creations
- Share ideas for incorporating homemade cashews into recipes
- Discuss serving suggestions for different occasions
IX. Conclusion
- Recap the satisfaction of making your own sweet and salted cashews
- Reiterate the benefits of customization and freshness
X. FAQs
- Common questions about making sweet and salted cashews and their answers
How to Make Your Own Delectable Sweet and Salted Cashews
I. Introduction
Crunchy, flavorful, and utterly irresistible – sweet and salted cashews have a way of satisfying your snack cravings like no other. While store-bought versions are readily available, there’s something incredibly rewarding about crafting your own batch of these delectable treats right in your kitchen. In this article, we’ll dive into the delightful world of homemade sweet and salted cashews, exploring the process, tips, and creative variations to elevate your snacking experience.
II. Why Make Your Own Sweet and Salted Cashews
Making your own snacks offers a plethora of benefits. Not only do you have control over the ingredients, ensuring freshness and quality, but you can also customize the flavors to match your taste preferences perfectly. Homemade sweet and salted cashews are a healthier alternative to their store-bought counterparts, allowing you to indulge guilt-free.
III. Gathering the Ingredients and Tools
To embark on your sweet and salty cashew-making adventure, you’ll need a few essential ingredients: raw cashews, sugar, salt, and your choice of seasonings. Additionally, make sure you have a baking sheet, parchment paper, and a mixing bowl to create the magic.
IV. Step-by-Step Guide to Making Sweet and Salted Cashews
The journey from raw cashews to delectable sweet and salted delights is straightforward but requires precision. Begin by roasting the raw cashews to enhance their nutty flavor. Next, prepare a mixture of sugar and salt, tossing the roasted cashews in it until evenly coated. Spread the coated cashews on a baking sheet, bake until golden brown, and let them cool. The result? A batch of perfectly sweet and salty cashews that are sure to impress.
V. Tips and Tricks for the Perfect Sweet and Salted Cashews
Achieving the ideal balance of sweetness and saltiness requires finesse. To ensure your cashews turn out perfectly every time, consider some expert tips. For instance, control the sweetness by adjusting the sugar quantity and balance it with a hint of sea salt. Monitor the roasting time closely to avoid burning, and stir the cashews occasionally for even coating. If your cashews turn out too sticky, spread them out on parchment paper and let them cool completely.
VI. Creative Variations and Flavor Combinations
The beauty of making your own sweet and salted cashews lies in the freedom to experiment with flavors. Take your snacking experience to the next level by trying creative variations. How about a touch of cinnamon sugar for a warm, comforting flavor? Or perhaps a sprinkle of spicy chili powder for a fiery kick? The possibilities are endless, so let your creativity shine.
VII. Storing Your Homemade Sweet and Salted Cashews
Proper storage is crucial to maintain the freshness and crunch of your homemade cashews. Store them in an airtight container at room temperature for up to two weeks. For longer shelf life, consider refrigerating or freezing them, ensuring that your delightful creations are always ready to satisfy your cravings.
VIII. Enjoying Your Creations
Your homemade sweet and salted cashews aren’t limited to being a standalone snack. Get creative in the kitchen by incorporating them into your favorite recipes. Crush them and sprinkle them over salads for a crunchy twist, or use them as a topping for desserts and ice creams. Sweet and salted cashews can also elevate the flavors of stir-fries and roasted vegetables, adding a delightful contrast to savory dishes.
IX. Conclusion
In conclusion, making your own sweet and salted cashews is a delightful culinary adventure that not only satisfies your taste buds but also fills your kitchen with irresistible aromas. The ability to customize flavors and enjoy the freshness of homemade treats adds an extra layer of satisfaction. So, why settle for store-bought when you can indulge in the goodness of your own creations? Gather your ingredients, get creative, and treat yourself to the delectable world of homemade sweet and salted cashews.
X. FAQs
Q1: Can I use different nuts instead of cashews for this recipe? A: Absolutely! This recipe works well with various nuts like almonds, peanuts, or even mixed nuts, allowing you to experiment and find your favorite combination.
Q2: How can I make the cashews spicier without making them too salty? A: To add spice without increasing saltiness, consider using spices like paprika, cayenne pepper, or chili powder. These options enhance the heat without overpowering the sweetness.
Q3: Can I reduce the sugar content in this recipe for a healthier option? A: Yes, you can adjust the sugar quantity to match your preference for a healthier alternative. You can also explore natural sweeteners like honey or maple syrup as substitutes.
Q4: Can I make a large batch and store them for a long time? A: While homemade sweet and salted cashews are best enjoyed fresh, you can store them in an airtight container in the refrigerator for up to a month. Freezing them can further extend their shelf life.
Q5: Can I gift these homemade sweet and salted cashews to others? A: Absolutely! Package them in decorative containers or jars, and you have a delightful homemade gift ready to brighten someone’s day. Personalized homemade treats make thoughtful and heartwarming presents for any occasion.
Related Posts
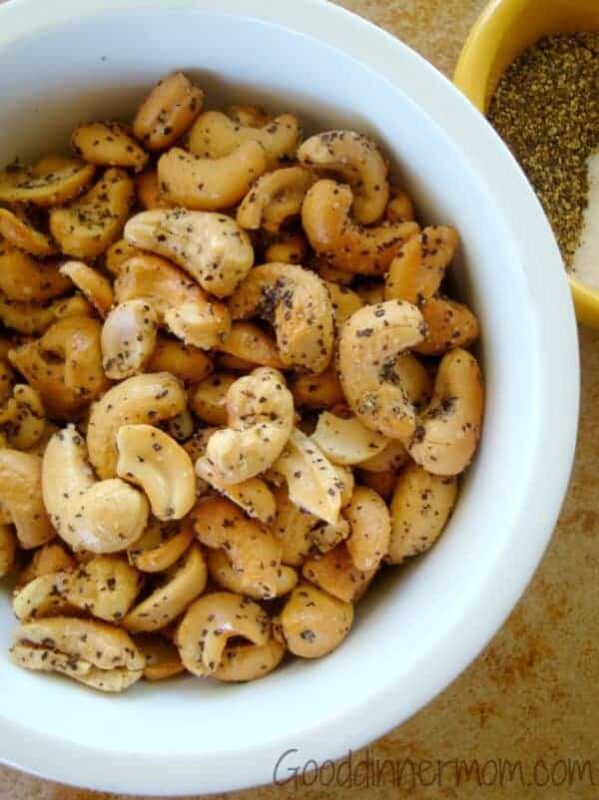
The Irresistible Charm of Salt & Pepper Cashews?
-
Posted by
 akshita aishwarya

Innovative Ways to Enjoy Salt & Pepper Cashews?
-
Posted by
akshita aishwarya
How to Make Your Own Irresistible Oregano Cashews?
-
Posted by
akshita aishwarya

How to Create Your Own Delectable Honey Cashews?
-
Posted by
akshita aishwarya
Why We Can’t Resist Sweet and Salt Cashews?
-
Posted by
akshita aishwarya
Creative Ways to Incorporate Sweet and Salt Cashews into Your Recipe?
-
Posted by
akshita aishwarya

Innovative Ways to Enjoy Jaggery Flavoured Cashews?
-
Posted by
akshita aishwarya
How to Make Your Own Irresistible Himalayan Pink Salted Cashews?
-
Posted by
akshita aishwarya

Innovative Ways to Enjoy Oreo Flavored Cashews?
-
Posted by
akshita aishwarya